TIPS and HINTS
Hot Air Engine, Stirling Engine, External Combustion Engine, Stirling Plans, Hot Air Engine Plans,
Stirling
Walking Beam Engine, Sterling Engine (oops!)
Email Me By Clicking Here
New Power Cylinder and Piston
Information on this article is still being worked on.
Please be patient.
I wanted to show what was being worked on now rather then waiting.
|
A
lot of people are having problems finding material to make the power
piston and cylinder. So I have been working on a possible alternative
that needs no lathe and a minimum of power tools.
The New Power
Cylinder
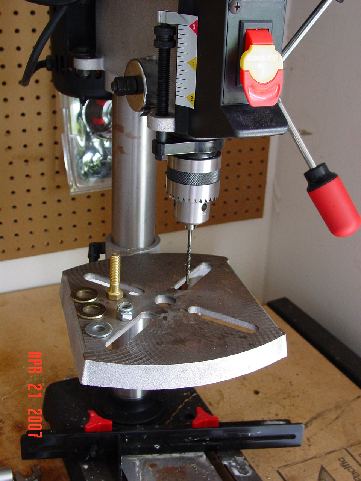
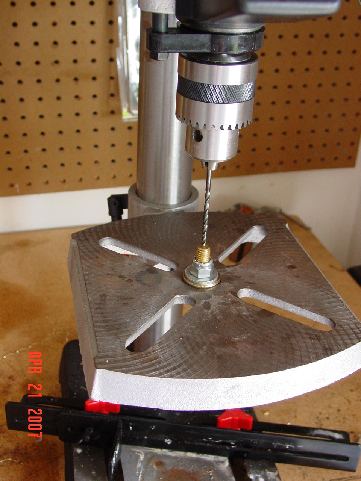
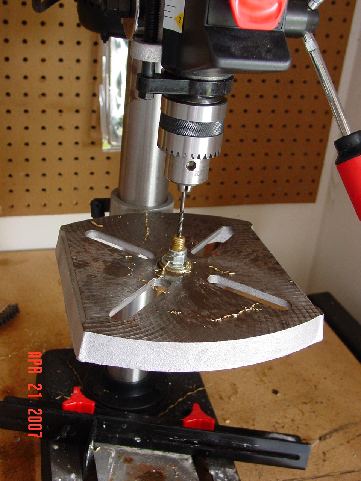
Below is how to make the cylinder and where to get parts. Please keep in mind I was not trying to keep the price down, but instead give you and alternative that was easy. Please
refer to the photo below:
From Left
to right
1)
1/8" to 1/4" brass bushing
This fitting can be found in any hardware store. 2) 1/4" to 3/4" Steel bushing (brass would be OK also, just more expensive) This fitting can be found in any hardware store. The 1/4" (small inside) must be tapped larger with a 1/4" NPT (pipe thread) tap. The threads on pipe taps are tapered. By running it in deeper it allows the bushing above to thread all the way in. 3) Bronze Sleeve Bearing for 1" Shaft Diameter, 1-1/4" OD, 3" Long McMaster Carr Bearing # 6381K217. Price $4.97 each http://www.mcmaster.com/ Page #1005 in their cataloge. Just do a search for 6381K217 This bearing has to be threaded on one end only with a 3/4" NPT (pipe thread) tap. Not too far or you wont't have enought cylinder free in the inside. If this happens, Just grind down the end of the 1/4" to 3/4" bushing so it don't go in as deep.  Here is how it is installed onto the Displacer Cylinder Use Hi Temp silicone sealer when installing it on the displacer cylinder to seal leake. Hi Temp silicone can be bought at any automotive parts store. It's the red stuff they put on gaskets. Also use it on the theads of the larger bushing into the bronze cylinder to seal the threads so they don't leak.  8974K133
Alloy 6061 Aluminum Rod 1" Diameter, 3' Length (min length) $15.83 Each I know this is a lot to pay, but I hope to be offering 3/4" long pieces soon at cost and this will be easier. The rod will have to be sanded slightly as it is a tight fit in the cylinder above, but It is very easy to do and get right. I still need to get photos of the process and how to machine the piston using a drill motor Coming Soon! PS, I will be needing a person willing to try this new cylinder and piston out when I'm done with it. |
Changes To The Original Plans
Keep That Displacer Piston On!

This came to me when asked the question what to do about a displacer piston that has fallen off the
rod inside the cylinder by Joseph Simone in an email. By adding a "Hook" to the end of the 1/8" rod on the
displacer piston, In the event you "over heat" the engine the displacer piston will not fall off inside the displacer cylinder.
In other words, You won't have to "tear the entire engine apart if a "over heat" happens.
This is what happened to the "Computerized Stirling Engine".
The Haigh piston
This is a possible alternative to a lathe turned piston or a brake piston.
The following is an email sent to me by Dan
Haigh