[an error occurred while processing this directive]

Rocket Radio

         
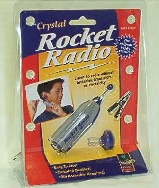
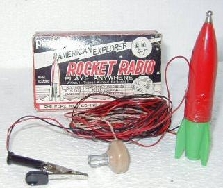
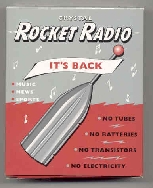
Typical of the "Rocket" radios
(left) New being sold on ebay
(center) Old original radio sold in the 50's and 60's
(right) new sold by Restoration Hardware

All basically the same radio


Here is the original schematic of the radio


The three "DOTS" on the schematic above are the terminals on the coil of the radio.
All parts or wires are connected at these three points.
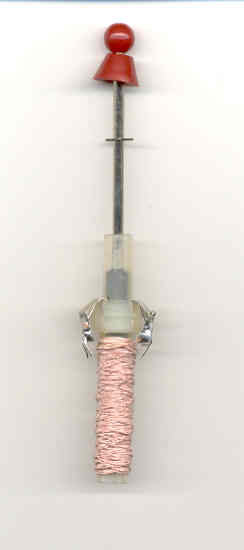


Here is the coil of that radio. You can see two of the three terminals.
The third is underneath. The rod with the red ball on the end is for tuning the radio.


Want to increase the radio's abilities?
(I would not do this to an "old" radio. It will destroy the value of the radio)
Try these changes


Changes are all in red.


1)    Remove the small capacitor (250 pfd), and replace it
       with a 150 pfd cap of the same type and size.
        This will make the radio tune in a better range on
        the AM band. Closer to the middle.

2)     Remove the old diode (probably a 1n60) and replace
         with a 1n34A type diode. The old diode is junk.

3)      Add about 12 to 15 turns of #24 to #26 gauge wire
          right over the top of the original coil winding.
          Hook one side of the new added coil to the
          terminal where the resistor,cap, and earphone
          meet.

4)      Remove the ground wire and reattach to the same
         terminal as above. This is your ground.

5)      Add a length of wire to the other end of the new
         added coil and put a alligator clip on the other end.
         This is your new "antenna connection.


Put The radio on a long wire antenna and ground and you will be amazed how much better it will work!


[an error occurred while processing this directive]